
Delicious crunchy snack bars for kids made with Weetabix. Easy to make with just a few simple ingredients.
One thing we always seem to have in my house is opened packets of Weetabix. My son loves Weetabix for breakfast but is always flitting between the different flavours and sizes so we have several boxes on the go at once.
I decided to use some of the plain weetabix to make some chocolate bars. Great for an afternoon snack or to take on days out.
How To Make Weetabix Bars
Full measurements for these bars are in the recipe card towards the bottom of this post but I’ve also included some step-by-step photos here if that’s helpful to see.
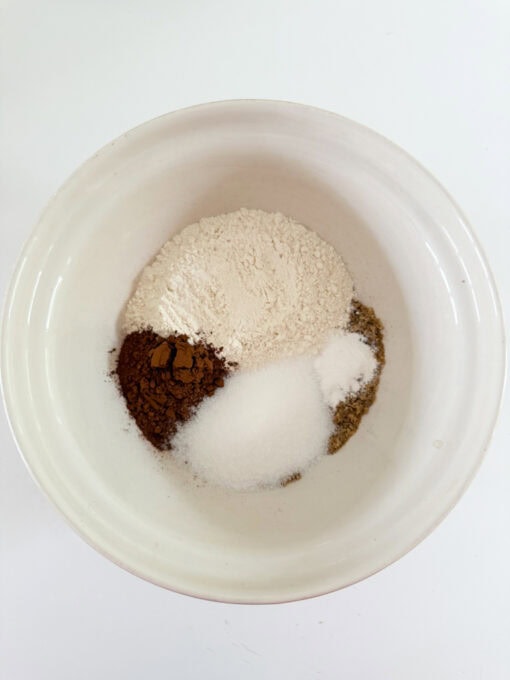
- Crush the weetabix with your hands and add to a bowl with flour, sugar, cocoa powder and baking powder.
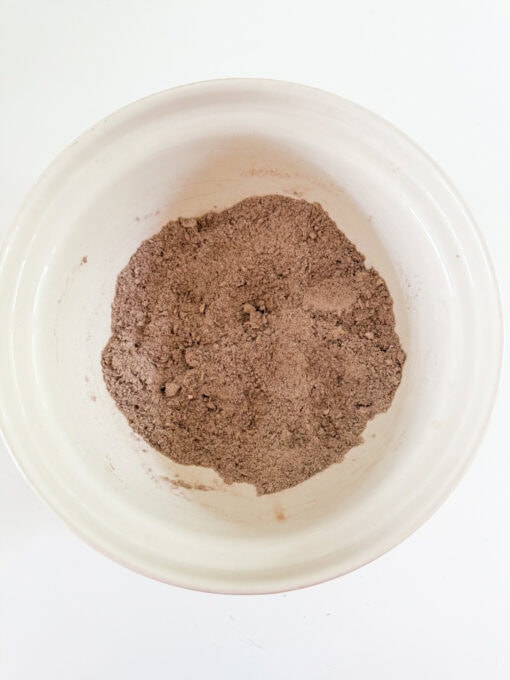
- Mix well with a spoon.
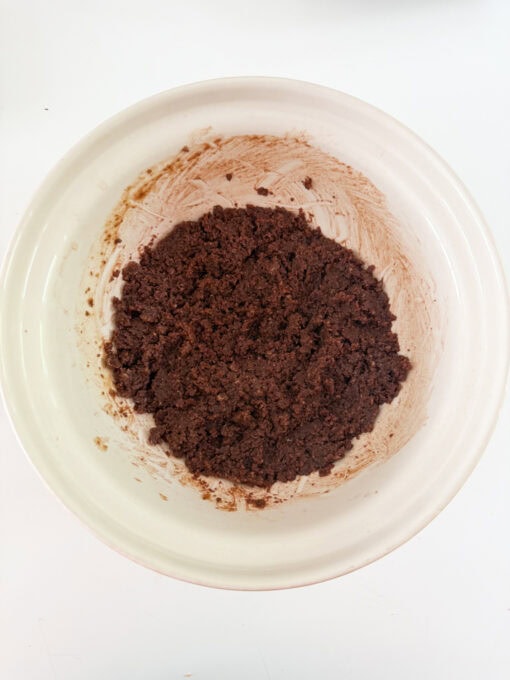
- Melt some butter and mix it with vanilla extract then add this to the weetabix mixture.

- Press into a lined tin then bake for 15 minutes.
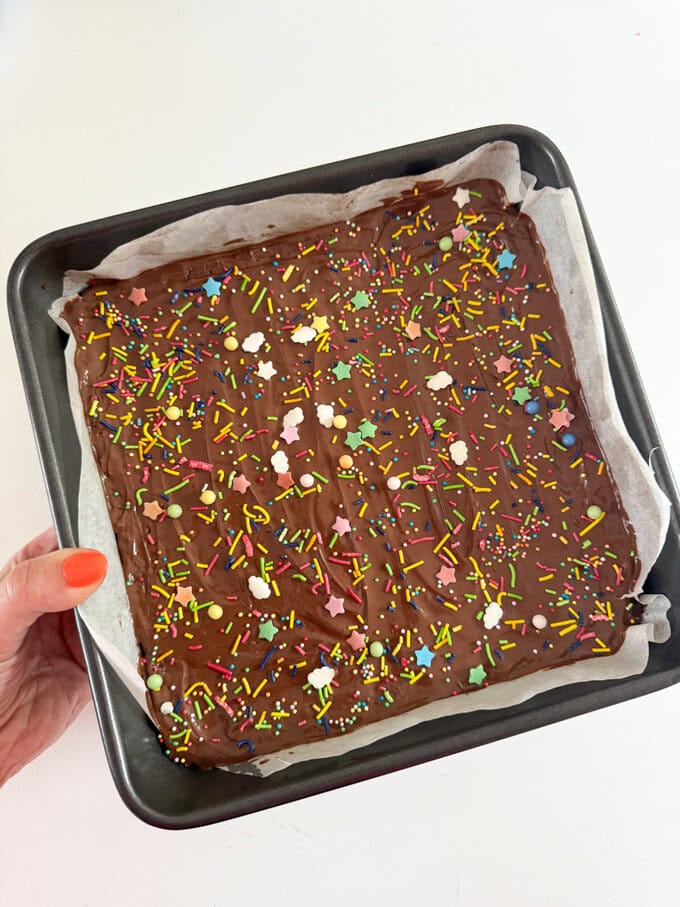
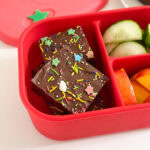
Once cooked, allow the mixture to cool in the tin for about 10 minutes. Then melt some milk chocolate and pour this over the top.
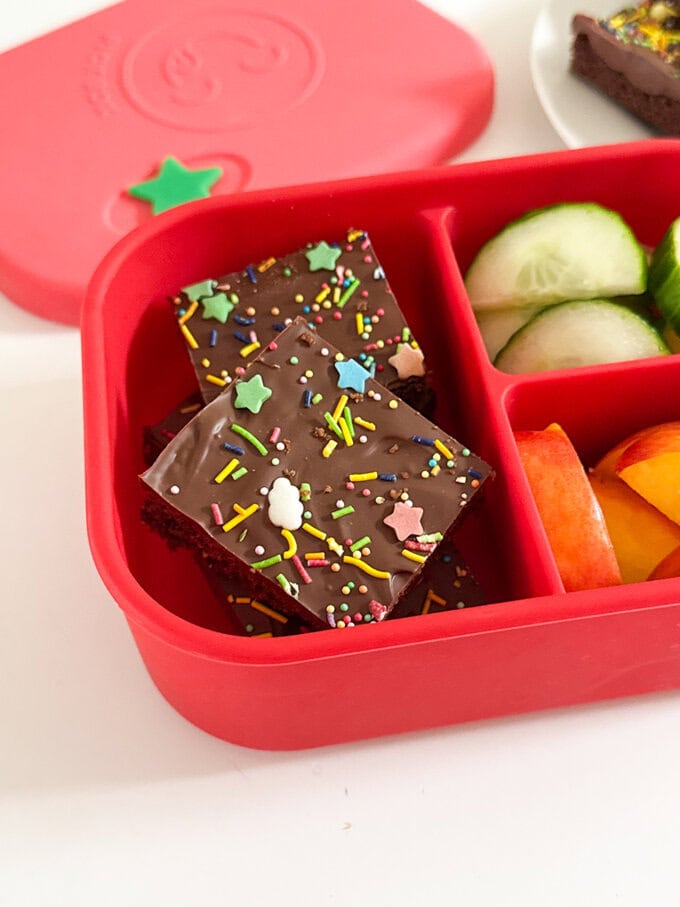
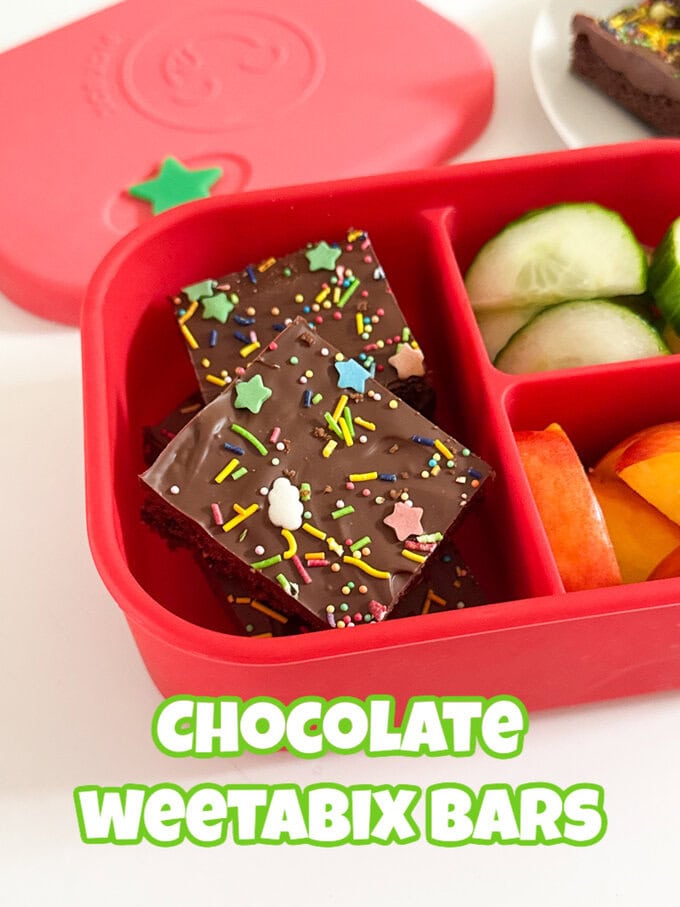
Sprinkles on top are totally optional but they do make the snack bars look even better! Refrigerate until the chocolate has set.
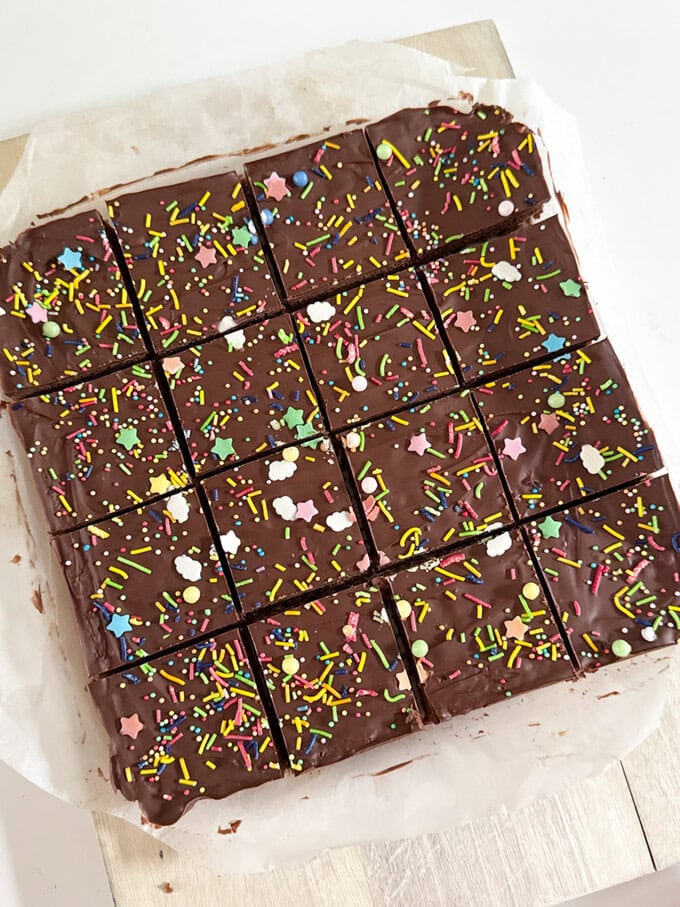
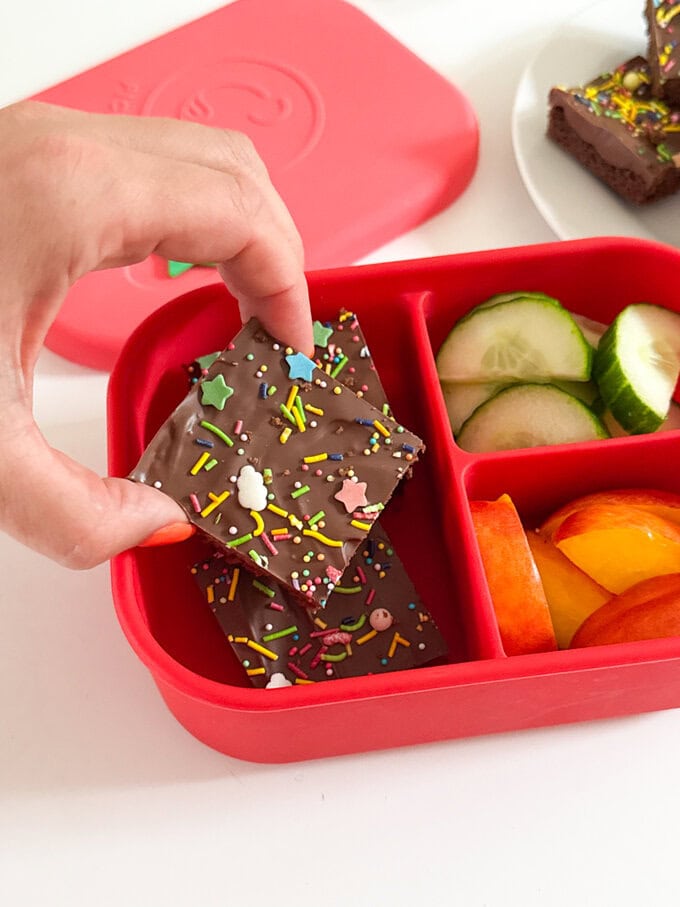
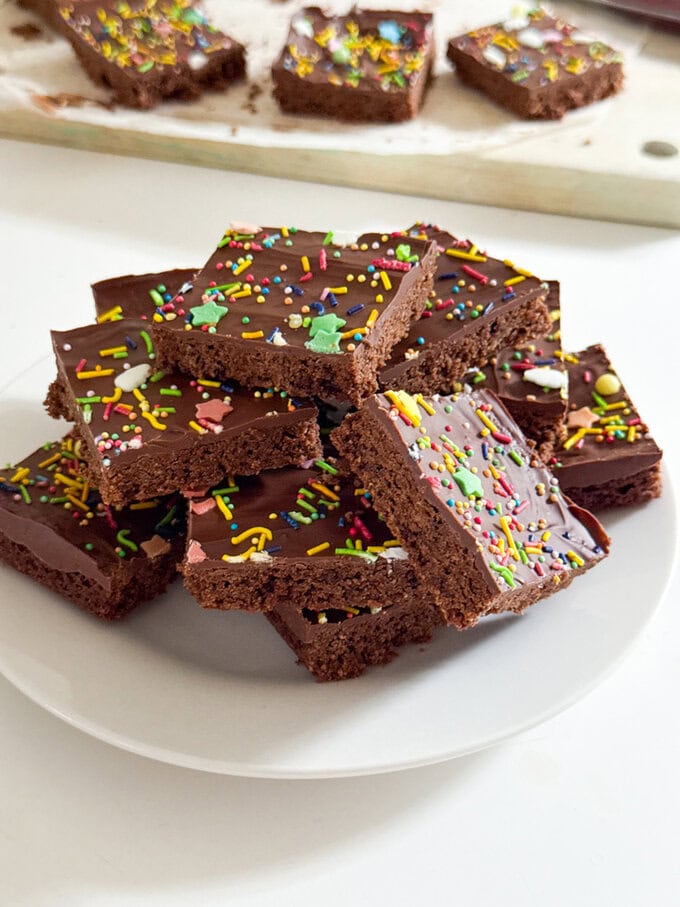
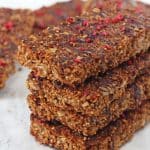
Once the chocolate has set, cut into 16 squares and they are ready to enjoy.
They have a lovely crunchy, slightly crumbly, texture and can confirm that they are delicious with a cup of coffee for adults too!
Storing
These Weetabix Bars will keep in the fridge for 4 days.
They can also be frozen. Defrost at room temperature in 1-2 hours.
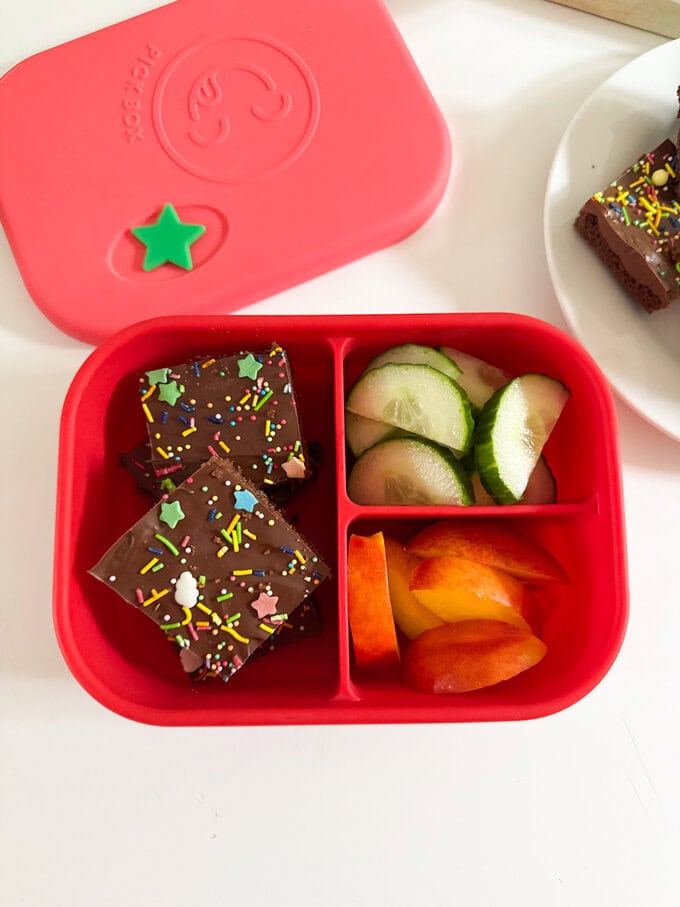
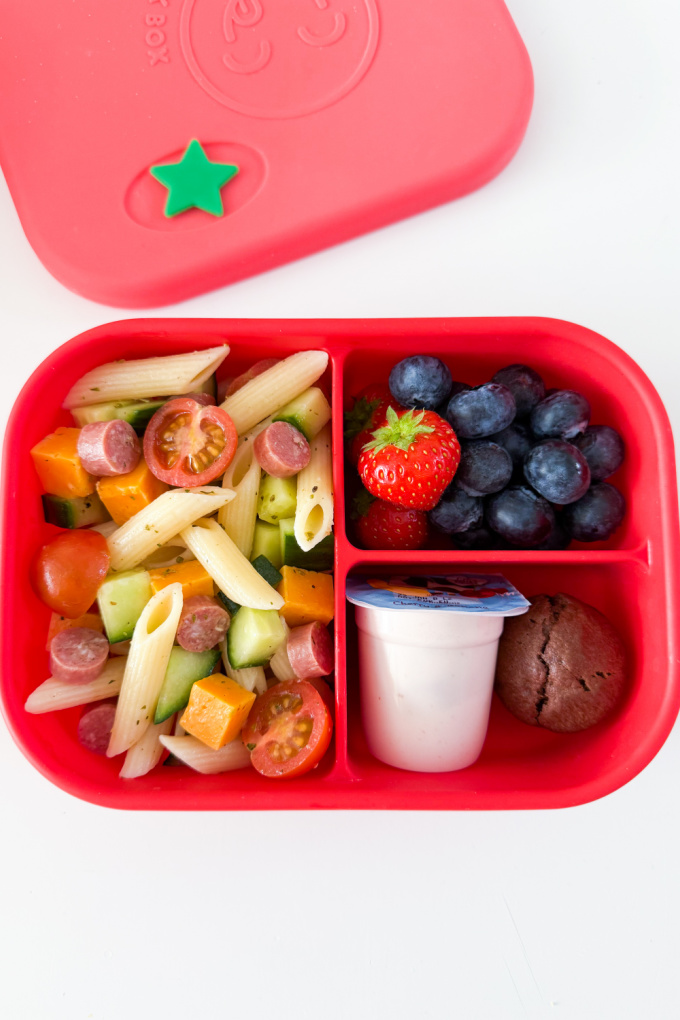
Lunchbox
The lunchbox I used in these photos in the Pick Box Classic. One of my own brand of mealtime products for kids. It’s made from silicone so is super durable.
More Recipes?
Looking for more kid-friendly recipes like this? Try these:


Chocolate Weetabix Bars
 Prep Time: 10 minutes
- Cook Time: 15 minutes
- Total Time: 25 minutes
 Yield: 16 1x
 Category: Baking
Description
Delicious crunchy snack bars for kids made with Weetabix. Easy to make with just a few simple ingredients.
Ingredients
- 4 weetabix
- 120g plain flour
- 70g sugar
- 2 tbsp cocoa powder
- 1 tsp baking powder
- 165g butter
- 1 tsp vanilla extract
To top:
- 130g milk chocolate
- sprinkles
Instructions
- Preheat the oven to 180c fan and line an 8×8 inch tin with parchment paper.
- Add the weetabix to a large bowl and crush them with your hands.
- Add the flour, sugar, cocoa powder and baking powder to the bowl and mix well with a spoon.
- Melt the butter and mix it with the vanilla extract.
- Pour this into the bowl with the other ingredients and mix well until everything is well combined.
- Transfer the mixture into the lined tin and press down with a spoon or your hands so that it is as compact as possible.
- Bake in the oven for 15 minutes. Once cooked, leave to cool in the tin for about 10 minutes.
- Melt the chocolate and pour it on top then add some sprinkles.
- Refrigerate until the chocolate has set then cut into 16 bars.
Notes
These Weetabix Bars can be stored in the fridge for up to 4 days.
They can also be frozen. Defrost at room temperature in 1-2 hours.


Tamina says
Made these yesterday and they were scrumptious! I couldnt stop myself eating them! I used coconut sugar instead of regular white sugar but i was wondering if the sugar could be substituted with maple syrup or would that ruin the texture? Thank you x
★★★★★
Vicky says
I haven’t tried this recipe with a liquid sweetener like maple syrup or honey so cant say for certain that it will work, sorry
Joe says
looks like a great snack.
is it the all purpose flour or whole wheat flour?
Vicky says
Thank you! We use Plain flour.